
Hi everyone, just to put some content in this community, I thought that sharing my setup could be useful to some people!
I have a Creality Ender 3-S1 Plus as my first printer. Why this choice? because… I wanted a big set, it suited my budget, and… I didn’t know too much about it so I followed my instinct.
First thing I did was to replace the original firmware with this one. Many more features including a lot of work on the touch screen, and more compatibility with Octoprint (see below).
I then installed a led strip with a support printed by me.
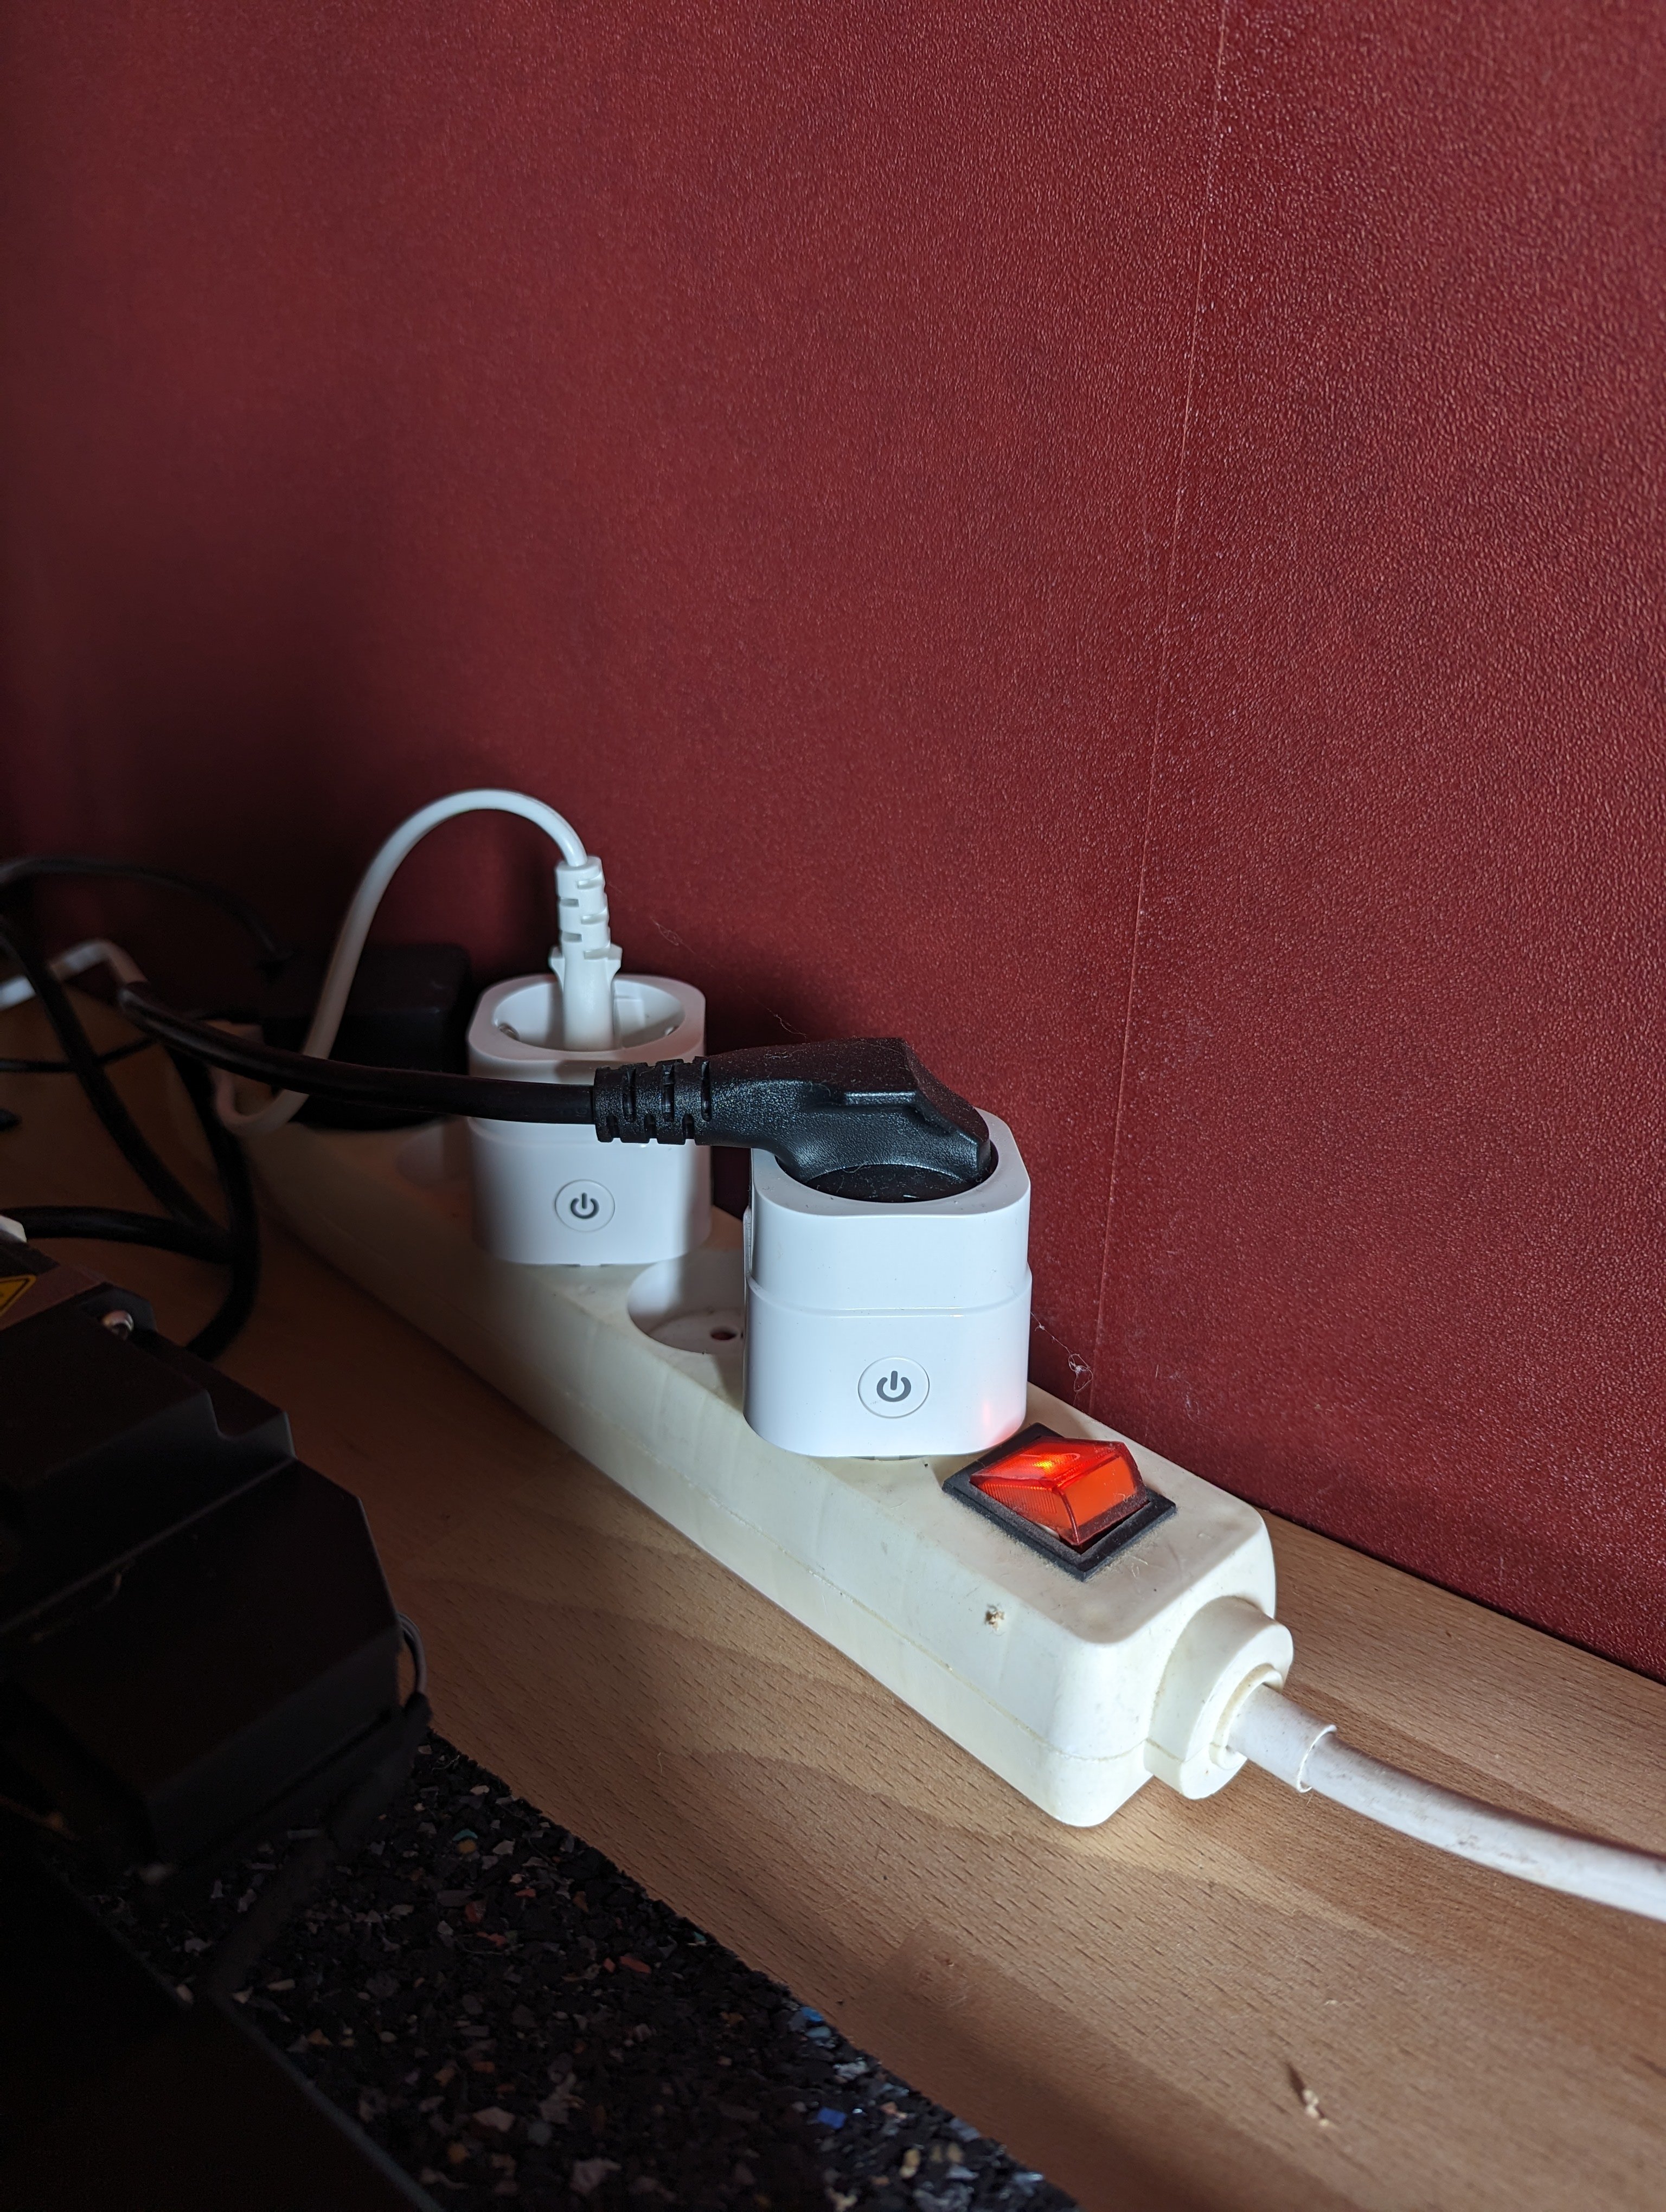
Then Tasmota connected sockets (open source firmware).
Driven by Octoprint, I can turn on my printer remotely, then the LED strip and the printers will be turned off automatically at the end of printing.
Open-source was important to me, for control to be done locally only, and not via a server on the other side of the world…
I then discovered via Reddit (urg) the existence of Octoprint.
After trying to install it on my first generation RPi, I bought an RPi 4 and created myself an optimized server.

I added some plugins including:
- Bed visualizer: to have a 3D visual of the bedleveling
- OctoEverywhere! (in free version) to have access to my server outside my local network (at work for example)
- Signal Notifier: to send me a message on Signal (I hate Meta and therefore Whatsapp) when the print is finished
- Tasmota: to control my connected sockets, very easy to use by adding commands in my Gcode
- UI Customizer: to have a beautiful interface
- Slicer Thumbnails: to have a preview of the Gcode rather than just the name (requires manipulation in Cura)
- M73 progress: to display the printing progress on the touch screen

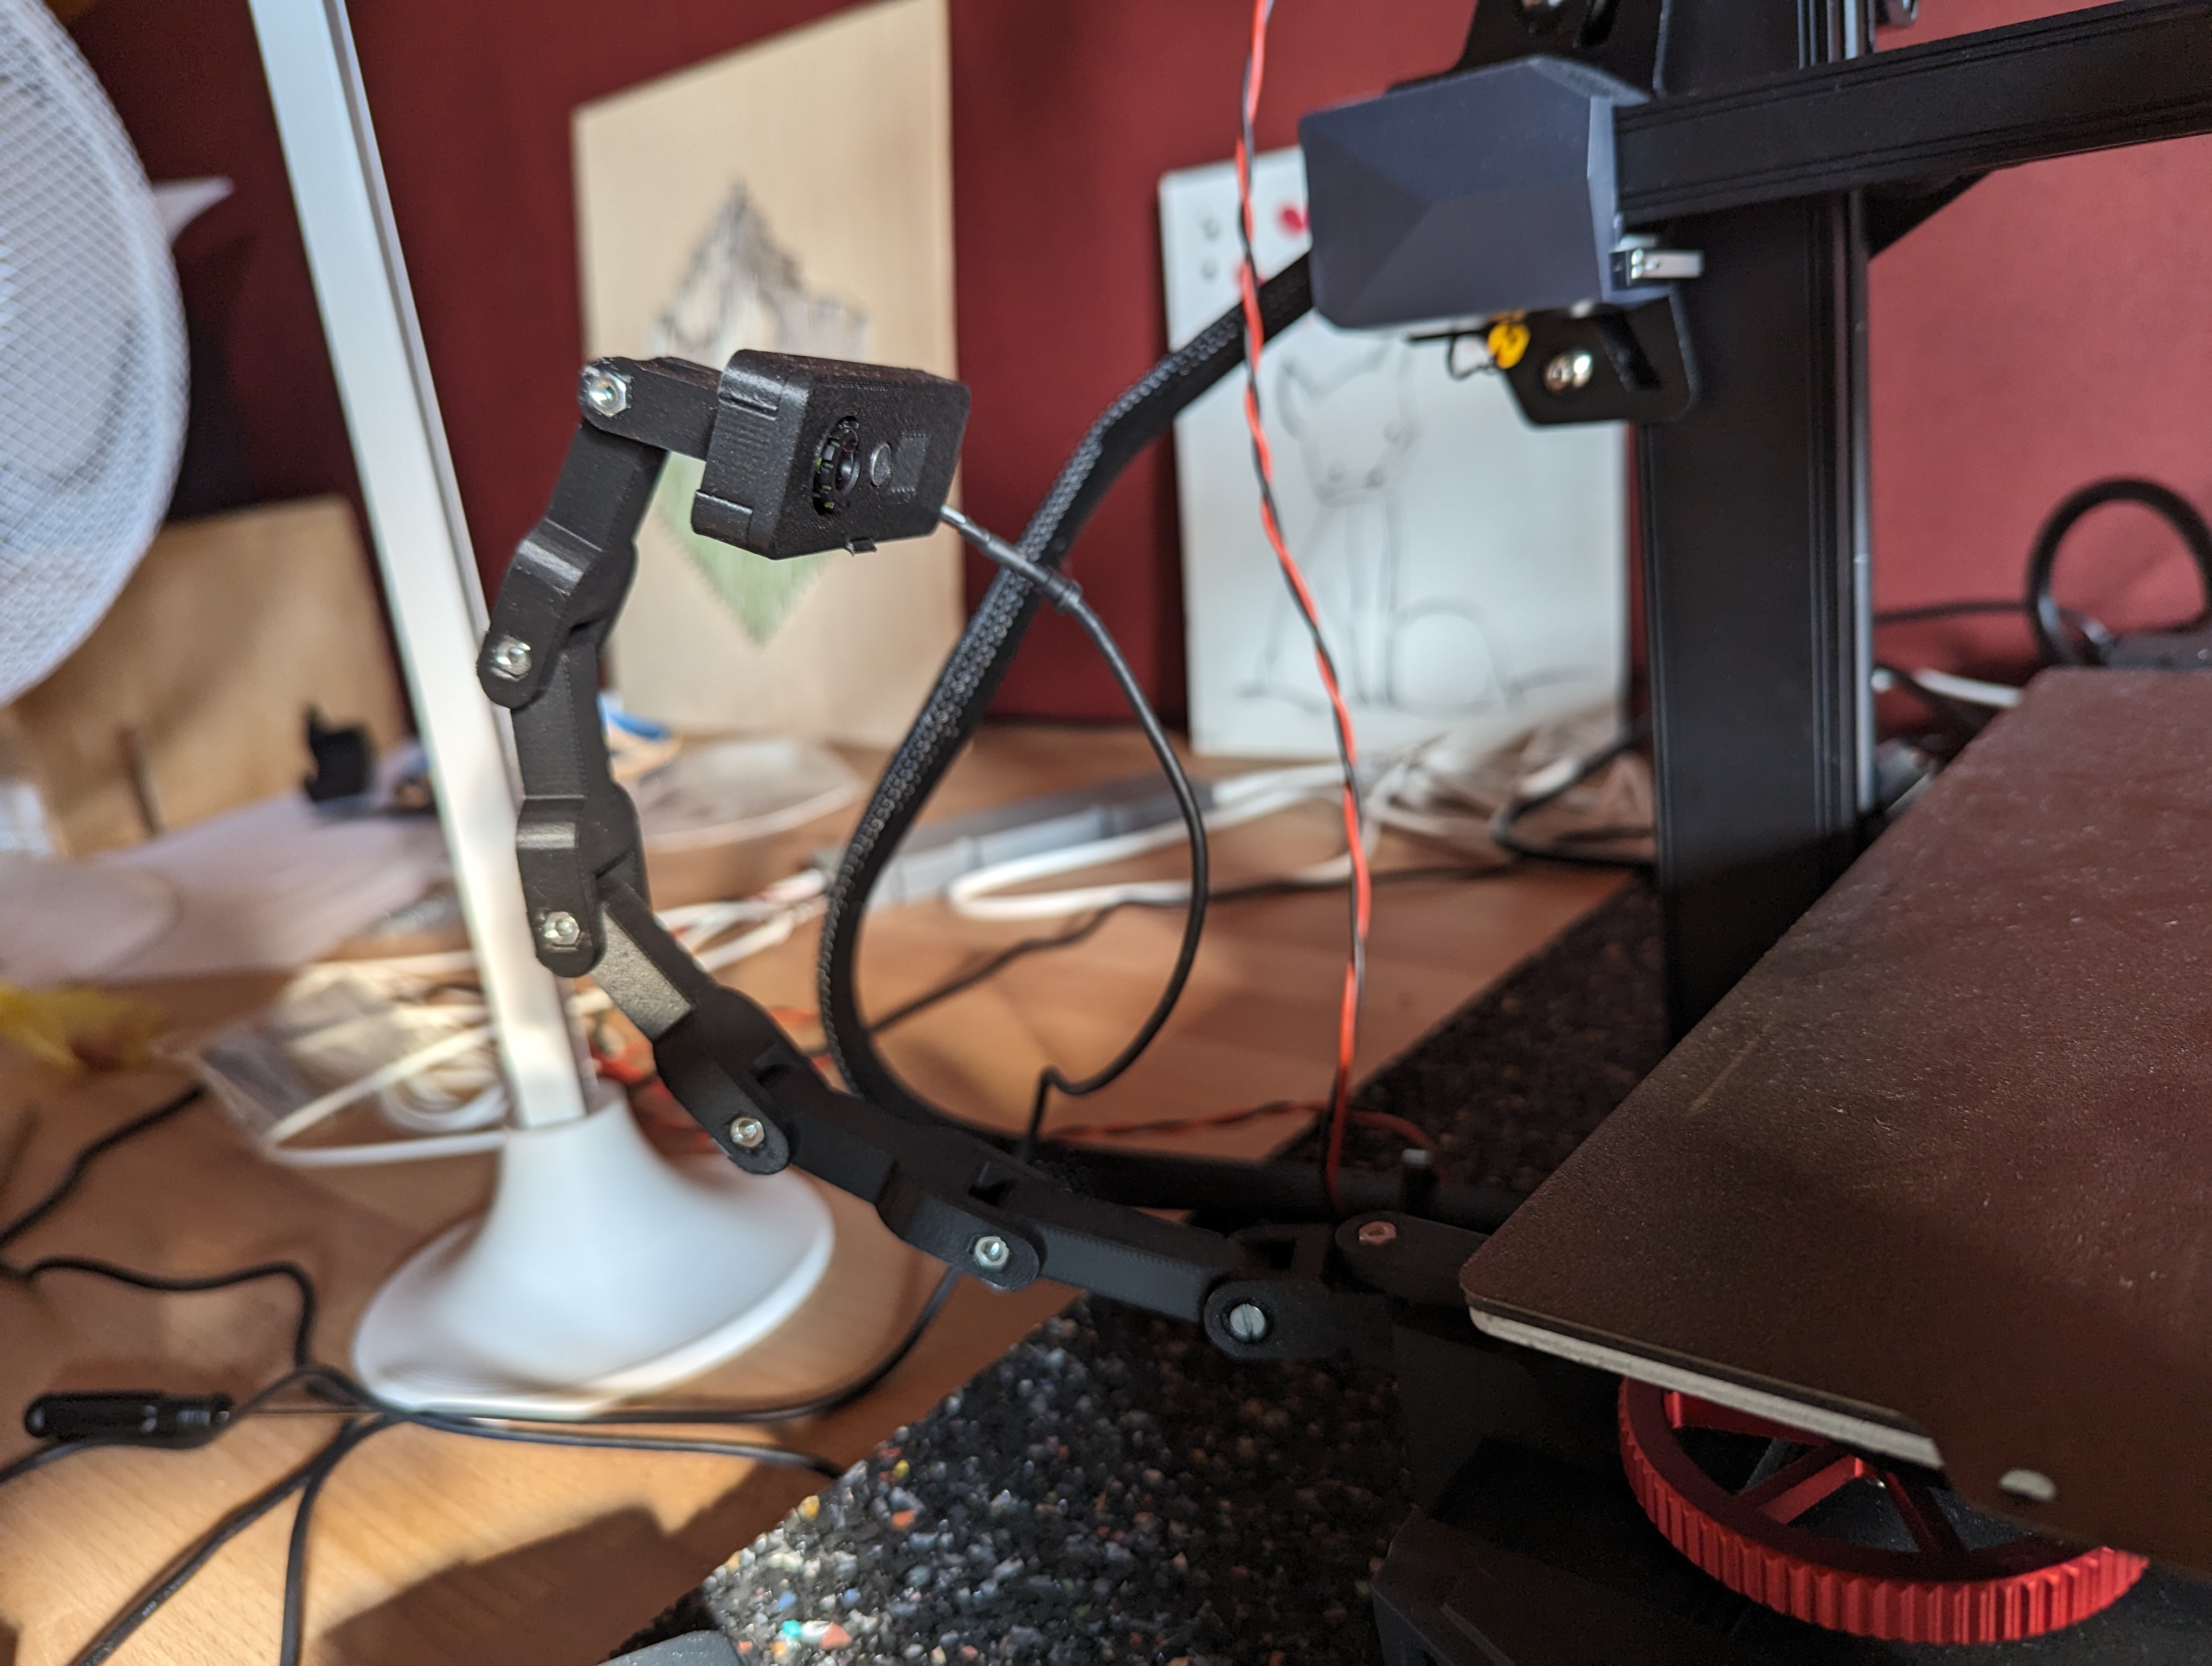
To perfect my installation and avoid going back and forth to check my impressions, I installed a Logitech HD C270 with a custom case.
Here, to conclude, I had a lot of trouble with Signal to install it on the RPi but I created a script to achieve this easily. And I burned my first bed by putting a Z-offset too low so I bought another one on amazon which I am very satisfied with.
My next project will be to confine my printer to print ABS.
Edit : (Yes, I need to clean the bed)
Edit 2 : Here’s the video to not burn your bed, watch it until the end!
You must log in or register to comment.
I have the S1, I will strongly recommend you to print a strain relief for the ribbon cable from the extruder. Mine broke rather quick and creality sent a replacement just from hearing that the extruder stopped working so it’s probably a common issue
I just got the S1 and unlike the OP I have exactly 0 clue what I’m doing lol. Do you have a STL for whatever strain relief apparatus you have? Or any recommendation?
Any other getting started tips? I’ve done the demos and some small prints that work as long as they’re in the middle of the bed, but near the edges or corners I’ve got wonky layer shift and some birds nest kinds of results…
Make sure the bed isn’t wobbly. This happened to me as well. I had varying results until I fixed that. I’m on my phone at the moment and unfortunately don’t have it. I think you can find it on Cults3D if you search for sprite extruder strain relief.
I really advise you to change the firmware (printer AND screen) by the one I propose.
It allows you to see your bed-leveling in 3D and realize how good it is or not. Then you have to make it as smooth as possible, but 100% smooth is not possible.
To do your bed-leveling, I advise you to heat up your bed and your extruder. For my part, I heat them to 60°C and 210°C respectively. This allows leveling by taking into account the expansion of the materials.
Anyway, I’m also having more trouble printing properly on the outside of the bed
So turns out I was using a slicer configured for the ender 5 plus thinking that it would be closest to the 5 s1, but the bed sizes are drastically different. Running a reprint now with the prusa-slicer to see if it goes better.
I’m reluctant to mess with firmware yet, but if the firmware you picked also works with my printer, you’ve got some demonstrated expertise :).
I assume I need to remove the filament to level, but I’ve never done that before.
If needed I can help you but only on Cura.
Do you have a Creality Ender 3-S1 Plus too?
No just the 5 s1.
And now I totally wrecked the bed by badly adjusting the nozzle… So no more printing today. Lowered bed to clean it and moved the z axis offset by mistake :(((
Thanks, I’ll think about it